3dmod
Friday, May 13, 2016
*Hopewell*
http://screencast-o-matic.com/watch/cDhIbi1SVp
Wednesday, May 11, 2016
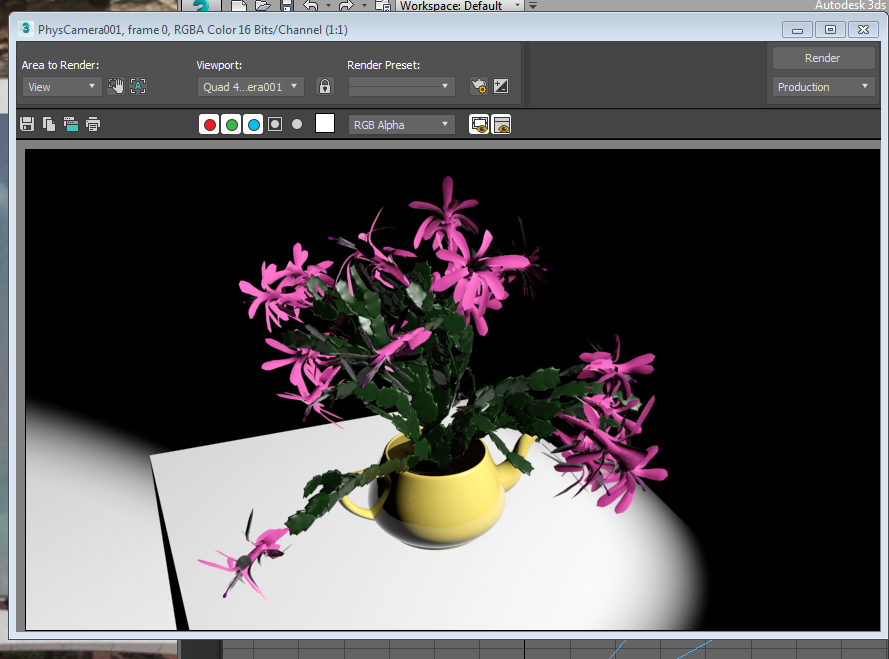
(chap 16.7) Playing the image Sequence in the RAM Player
Rendering menu-- compare media in RAM player
http://screencast-o-matic.com/watch/cDhX3J19EP
(chap 16.6) Image Sequence
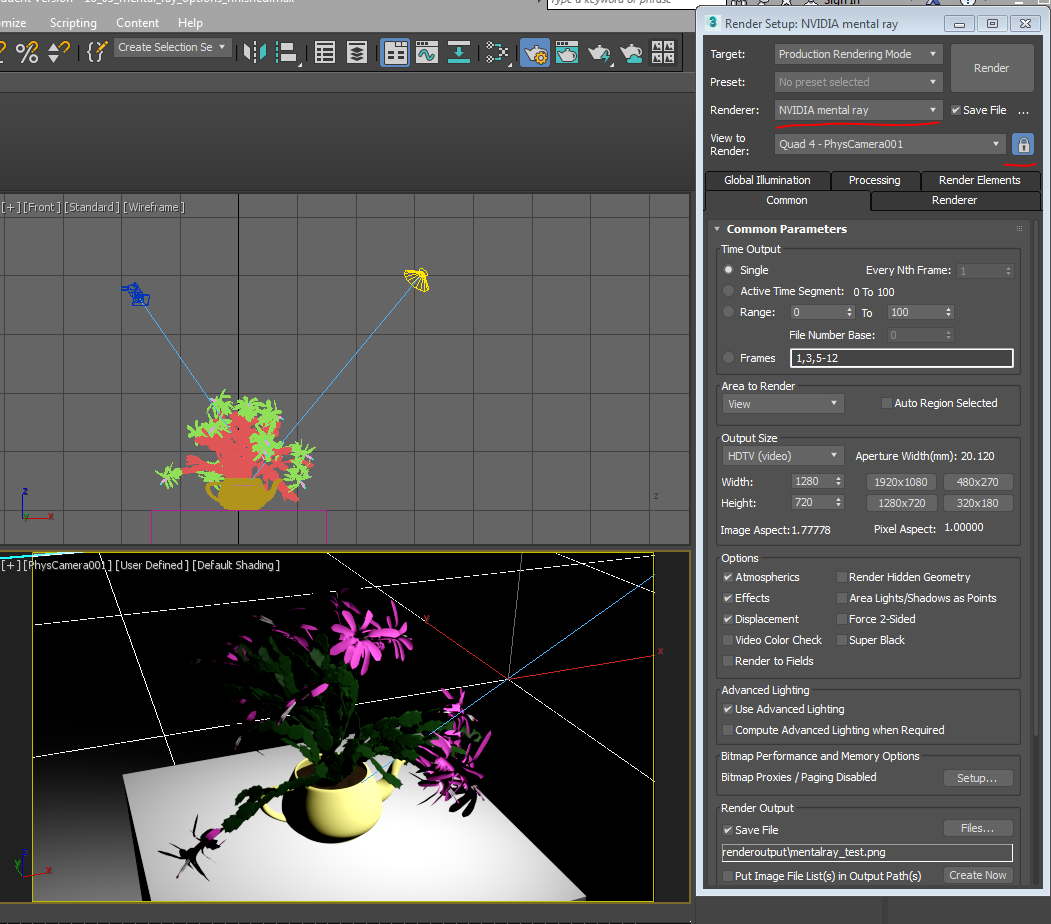
(chap 16.5) Mental Ray Render Options
Change physical lights to standard for mental ray to handle it. Enabled GAMMA
(chap 16.4) Setting Scanline Render Options
(chap 16.3) Controlling Shadows
(chap 16.2) Rendering Standard Lights
Don't want GAMMA on for standard light
Older Posts
Home
Subscribe to:
Posts (Atom)